
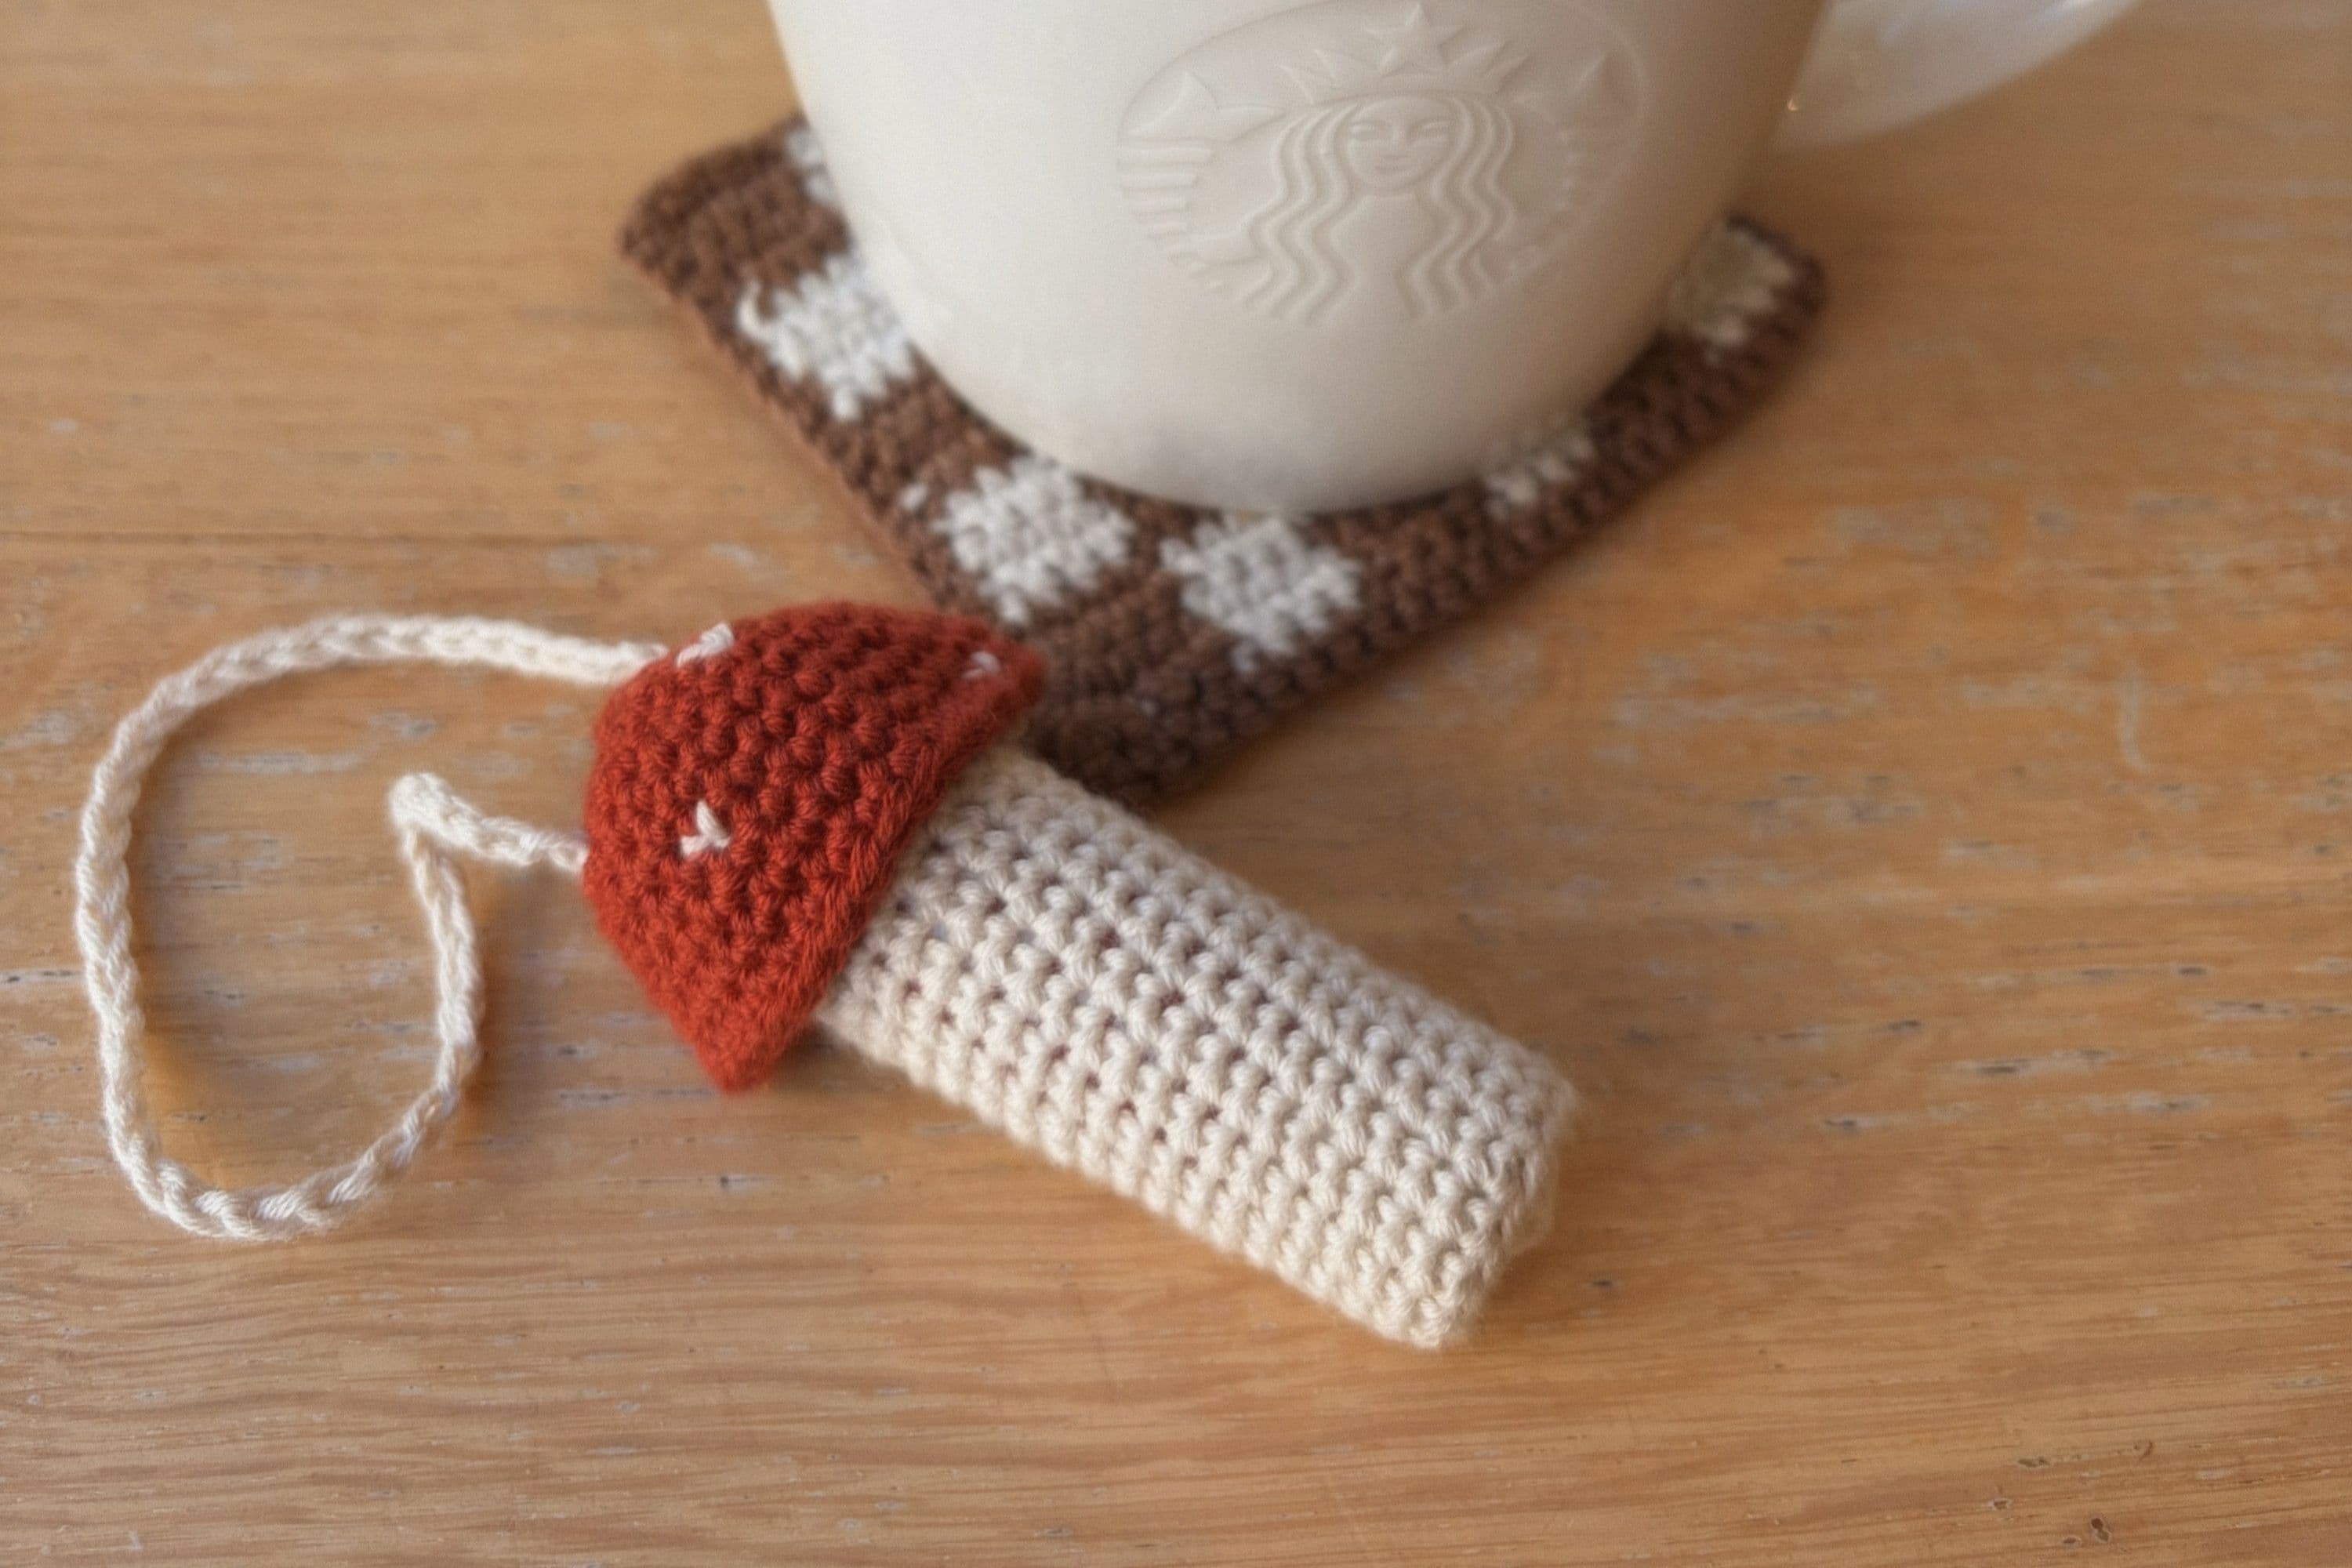
Mushroom Lip Balm Case
🌿 Materials
- Yarn: Cotton or soft acrylic in two colours – one for the stem (base) and one for the cap (top)
- Hook: 2.5–3 mm
- Tapestry needle for weaving in ends
- Scissors
- Lip balm or lipstick to measure the fit
- Optional: mystery playlist(I’ll link my below)

✂️ Stitches & Abbreviations
Crochet terms follow US terminology.
Here’s what you’ll use in this pattern:
MR - Magic Ring
ch - Chain
sc - Single Crochet
inc - Increase
sl st - Slip Stitch
blo - Back Loop Only
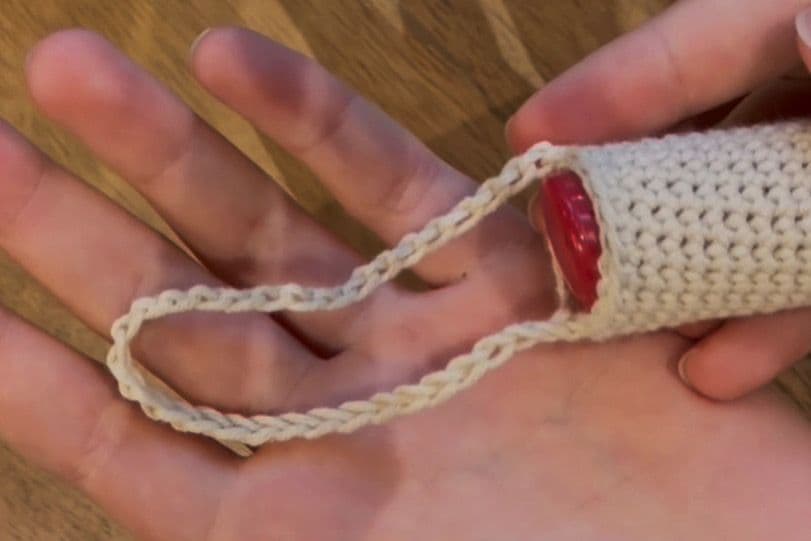
✨ Base (the stem)
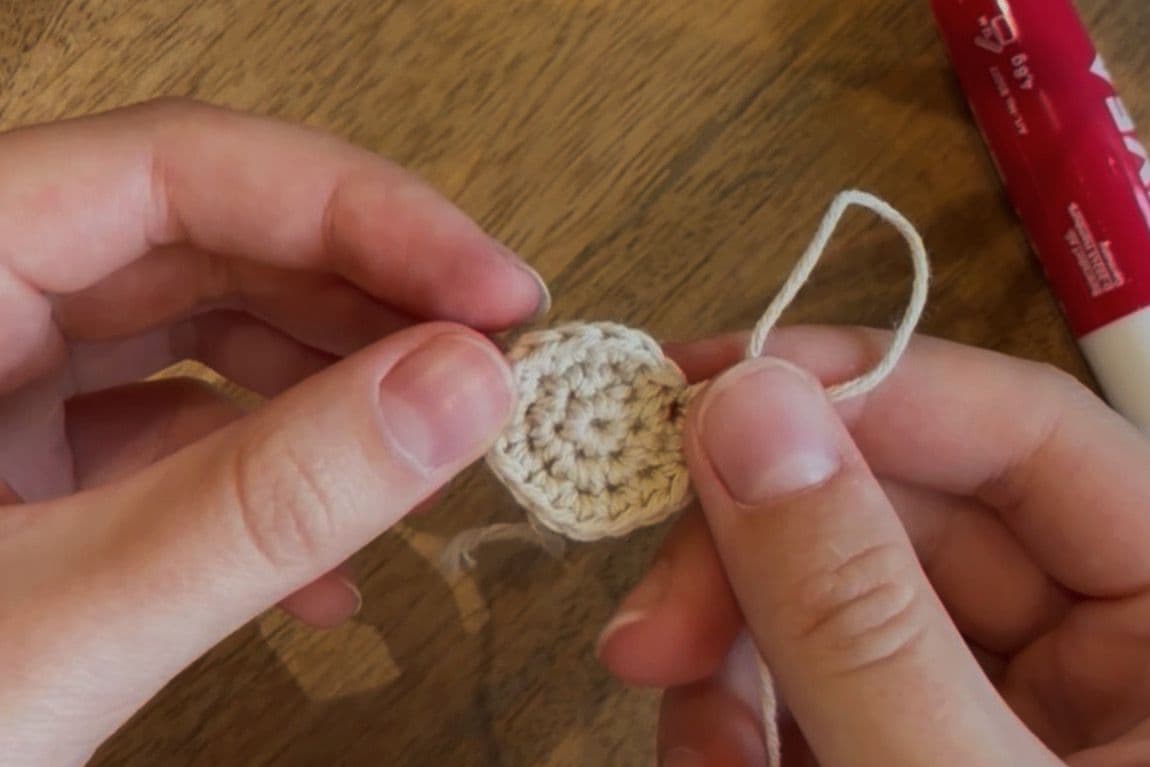
1. Start with a MR of 6 stitches and pull tight.
2. Work in rounds to form a flat circle slightly larger than the lip balm base:
- Round 2: inc in each st (12 sts)
- Round 3: (1 sc, inc) × 6 (18 sts)
- Round 4: (2 sc, inc) × 6 (24 sts)
Continue until the circle’s diameter matches the bottom of your lip balm.
For me only 3 rounds was enough
3. Build up the sides.
In the next round, work in the back loop only:
- Slip stitch in the first st, chain 1, 1 sc into the same st.
- Continue making 1 sc in each back loop around.
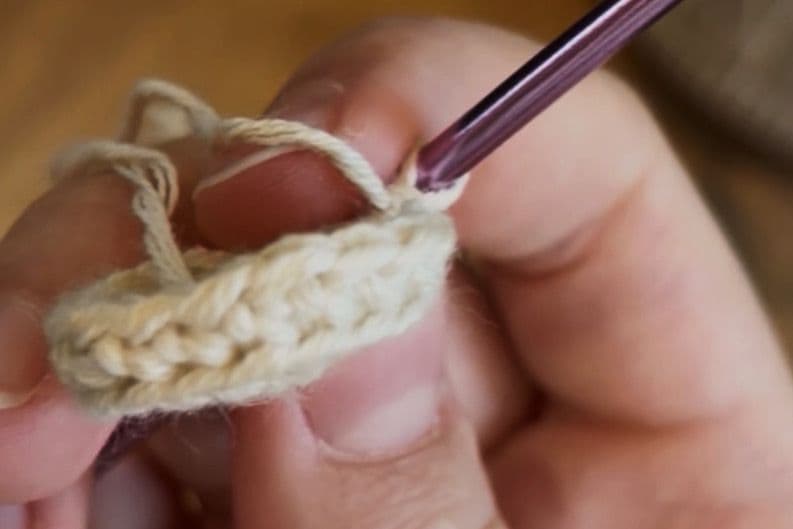
From here, continue crocheting in rounds:
- in the first loop (sl st, ch, sc), then sc through both loops all the way to the end.
Continue until the stem is the same height as your lip balm.
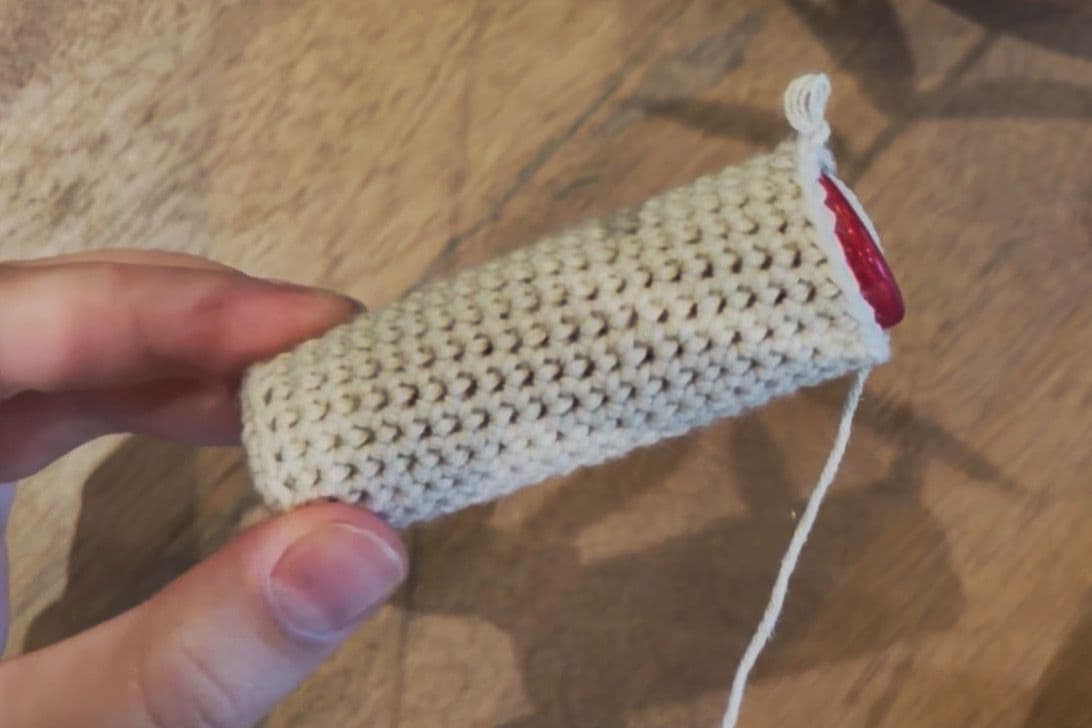
4. Make the hanging loop.
At the end of the last round, slip stitch to join,
then chain as long as you want your loop to be (for example, 25–30 ch).
Leave a long yarn tail, cut, and set aside – we’ll attach it later to the mushroom cap.
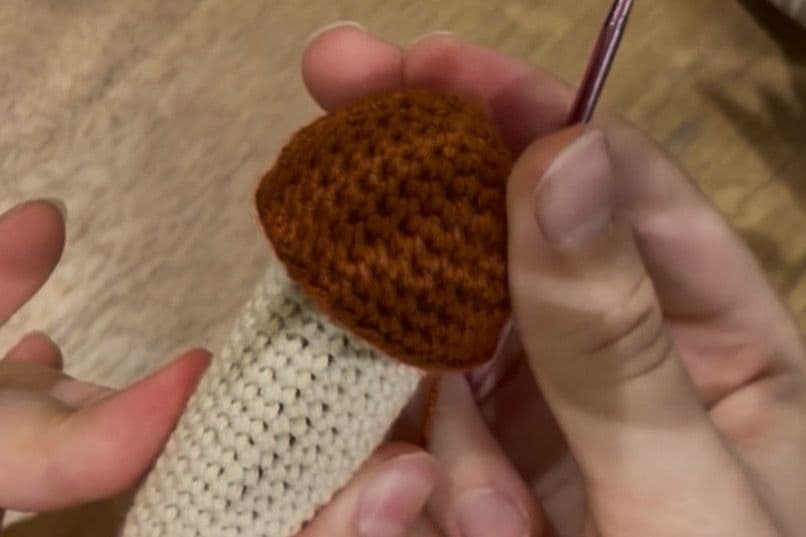
🍄 Mushroom Cap
1. Start with a MR of 5 stitches.
- R2: inc in each st (10 sts)
- R3: (1 sc, inc) × 5, 1 sc (15 sts)
- R4: (2 sc, inc) × 5, 1 sc (20 sts)
- R5: sc around (20 sts)
- R6: (3 sc, inc) × 5 (25 sts)
- R7–9: sc around (25 sts each)
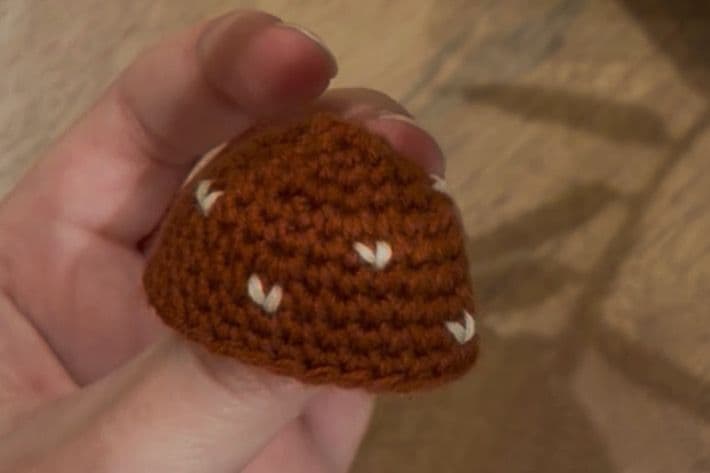
2. Add details.
With white yarn, embroider small “spots” or “stitches” on the cap —
they look like tiny glowing freckles.
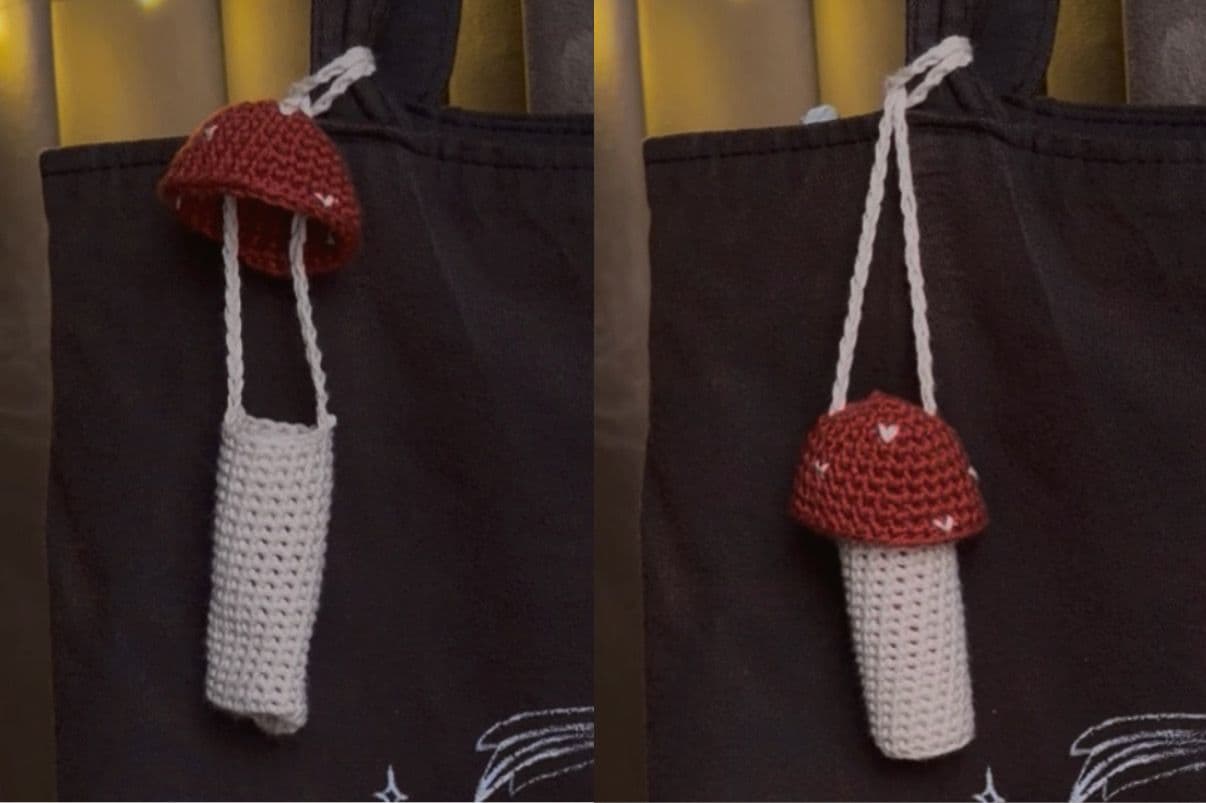
3. Assemble.
Between the 2nd and 3rd rows of the cap, on opposite sides,
insert the chain from the stem so the cap can hang above it like a lid.
Attach the end of the chain on the opposite side of the stem base,
securing it with a few neat stitches.
Now the lid opens and closes – like a tiny mushroom lantern.
☕️ Notes from Luchi
This little mushroom isn’t just cute – it’s functional, tactile, and easy to make.
If you want, you can make a whole forest of – sage greens, dusty pinks, autumn browns. Take your time. Let it grow from your hands.